
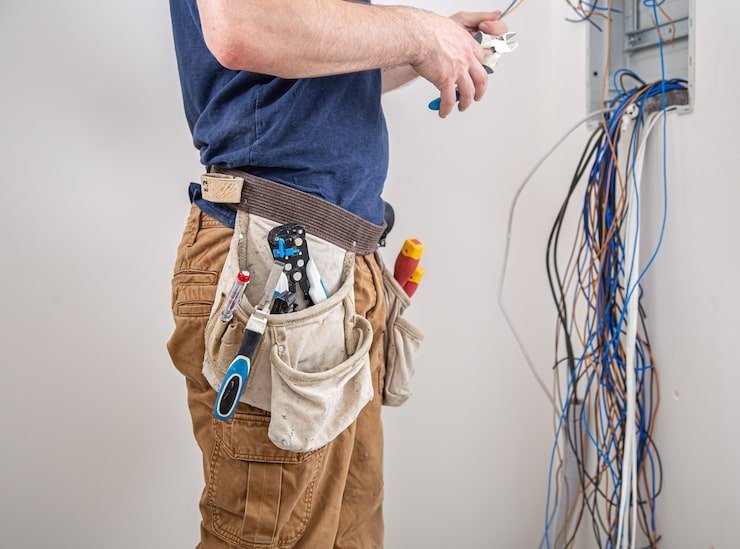
Outdoor lighting improves the safety, visibility, and functionality of any property. Whether you want to illuminate pathways, highlight landscaping, or improve outdoor living spaces, proper planning and installation are essential. While some basic lighting projects may seem straightforward, electrical work requires careful attention to safety and local regulations.
Mutual Electric provides professional electrical solutions for residential and commercial properties. With experience in electrical upgrades, repairs, and lighting installation service, the team helps homeowners achieve safe, reliable, and long-lasting outdoor lighting systems. Whether you are searching for an electrician in Bonney Lake for a new project or upgrading existing fixtures, understanding the installation process can help you make informed decisions.
This guide explains the step-by-step process of installing outdoor lighting, important planning considerations, safety practices, and when professional assistance may be the right choice.
Why Outdoor Lighting Matters
Outdoor lighting is more than decorative. A well-designed system improves both appearance and functionality while increasing safety around your home.
Some of the key benefits include:
- Improves visibility around walkways and entrances
- Reduces the risk of slips and falls
- Enhances home security during nighttime
- Highlights landscaping and architectural features
- Makes outdoor living areas more comfortable
- Increases the usability of patios and decks
- Adds value to residential properties
Carefully planned lighting installation Bonney Lake projects often combine safety lighting with decorative lighting to create a balanced outdoor environment.
Step 1: Plan Your Outdoor Lighting Layout
Before purchasing fixtures or digging trenches, create a detailed lighting plan.
Consider the following areas:
- Front entrance
- Driveway
- Walkways
- Garden beds
- Decks
- Patios
- Backyard seating areas
- Garage
- Side entrances
Ask yourself these questions:
- Which areas require better visibility?
- Where is additional security needed?
- Which landscape features should be highlighted?
- How bright should each area be?
Creating a layout reduces unnecessary wiring and ensures balanced lighting throughout the property.
Choose the Purpose of Each Light
Different fixtures serve different purposes.
Common lighting types include:
- Path lights
- Spotlights
- Floodlights
- Wall-mounted fixtures
- Deck lighting
- Step lighting
- Accent lighting
- Motion sensor lights
Selecting the correct fixture for each location improves overall performance.
Step 2: Select the Right Outdoor Lighting Fixtures
Outdoor fixtures should be designed specifically for exterior use.
Look for products that offer:
- Weather resistance
- Moisture protection
- Durable materials
- Energy-efficient LED technology
- Suitable brightness
- Appropriate beam angle
LED fixtures are commonly preferred because they:
- Consume less electricity
- Produce less heat
- Last significantly longer
- Require less maintenance
Quality fixtures help reduce future replacement costs while maintaining consistent illumination.
Step 3: Choose the Correct Power Source
Outdoor lighting systems typically operate using one of the following options:
Low Voltage Systems
These systems commonly use a transformer connected to household power.
Advantages include:
- Easier installation
- Lower operating voltage
- Energy efficiency
- Suitable for landscaping
Line Voltage Systems
These systems connect directly to household electrical circuits.
They are commonly used for:
- Floodlights
- Security lighting
- Permanent installations
Because line voltage involves higher electrical risk, professional installation is often recommended.
Solar Lighting
Solar fixtures require no wiring.
Benefits include:
- Simple installation
- Reduced electricity usage
- Environmentally friendly operation
However, performance depends on available sunlight and battery capacity.
Step 4: Gather Installation Tools
Before beginning installation, prepare all necessary equipment.
Common tools include:
- Measuring tape
- Shovel
- Wire strippers
- Screwdrivers
- Voltage tester
- Electrical connectors
- Outdoor-rated wiring
- PVC conduit where required
- Drill
- Waterproof junction boxes
Using the proper tools helps ensure a safer and more efficient installation process.
Step 5: Install the Wiring
Correct wiring is one of the most important parts of outdoor lighting installation.
General installation steps include:
- Turn off electrical power.
- Mark cable routes.
- Dig shallow trenches where required.
- Install conduit if necessary.
- Lay outdoor-rated wiring.
- Protect all underground cables.
- Follow local electrical code requirements.
Proper cable protection reduces future damage caused by landscaping, moisture, or accidental digging.
Safety Tip
Never install wiring near gas lines or water pipes without identifying underground utilities first.
Step 6: Install the Light Fixtures
After completing the wiring, install each fixture according to the manufacturer’s instructions.
Installation typically involves:
- Securing mounting brackets
- Connecting wires
- Tightening waterproof connectors
- Mounting fixtures
- Adjusting lighting angles
Once installed, verify that each fixture remains stable and properly sealed against moisture.
Step 7: Connect to the Power Source
Depending on your lighting system, complete the electrical connection carefully.
For low-voltage systems:
- Install the transformer
- Connect fixture cables
- Verify voltage capacity
For line-voltage systems:
- Connect wiring to the electrical circuit
- Install GFCI protection where required
- Verify grounding
Electrical connections should always comply with local building codes.
Step 8: Test the Lighting System
Once installation is complete:
- Restore electrical power.
- Test every fixture.
- Check brightness consistency.
- Confirm timer operation.
- Verify motion sensor performance.
- Inspect waterproof connections.
If any fixture fails to operate correctly, disconnect power before troubleshooting.
Common Outdoor Lighting Mistakes to Avoid
Several common mistakes can reduce the performance and lifespan of outdoor lighting.
Avoid the following:
- Installing too many bright fixtures
- Using indoor-rated lights outdoors
- Ignoring waterproof connections
- Placing fixtures too close together
- Using incorrect wire sizes
- Forgetting GFCI protection
- Poor fixture positioning
- Skipping maintenance
Proper planning helps prevent costly repairs later.
Outdoor Lighting Maintenance Tips
Routine maintenance helps outdoor lighting perform efficiently throughout the year.
Recommended maintenance includes:
- Clean lenses regularly
- Remove dirt and debris
- Trim nearby plants
- Replace damaged fixtures
- Inspect exposed wiring
- Test timers seasonally
- Check waterproof seals
- Tighten loose fixtures
Routine inspections extend system life while maintaining consistent illumination.
When Should You Hire a Professional?
Although some low-voltage systems are suitable for experienced homeowners, larger installations often require professional expertise.
A qualified electrician in Bonney Lake can assist when:
- Installing new electrical circuits
- Working with line-voltage systems
- Upgrading existing outdoor wiring
- Adding landscape lighting
- Installing security lighting
- Troubleshooting electrical problems
- Meeting local code requirements
Professional installation helps improve safety, system reliability, and long-term performance.
Why Proper Outdoor Lighting Installation Matters
Outdoor lighting is a long-term investment that combines safety, convenience, and visual appeal. A carefully planned system provides reliable illumination while reducing maintenance and energy costs.
Whether installing pathway lighting, landscape lighting, or security fixtures, proper planning, quality materials, and safe electrical practices all contribute to successful results. Homeowners considering lighting installation Bonney Lake projects should understand both the installation process and the importance of following electrical safety standards.
When electrical expertise is required, working with experienced professionals helps ensure that every fixture is installed correctly and performs efficiently for years to come.
If you are planning an outdoor lighting project and need professional guidance, Mutual Electric offers reliable lighting installation service for residential and commercial properties. Whether you need expert advice, system upgrades, or complete lighting installation Bonney Lake solutions, our experienced team is here to help.
Contact us to discuss your outdoor lighting installation needs and learn more about safe, code-compliant electrical solutions.
FAQ
Is outdoor lighting difficult to install?
Basic low-voltage systems are generally easier to install than line-voltage systems. Larger electrical projects should be completed by qualified professionals.
What type of outdoor lighting lasts the longest?
LED lighting typically offers the longest lifespan while using less energy than traditional bulbs.
Do outdoor lights require waterproof wiring?
Yes. Outdoor electrical systems should always use weather-resistant fixtures, waterproof connectors, and outdoor-rated wiring.
How deep should outdoor electrical cables be buried?
Burial depth depends on local electrical codes, cable type, and whether conduit is used. Always follow applicable regulations.
Should I hire an electrician for outdoor lighting installation?
If your project involves new circuits, line-voltage wiring, or electrical panel connections, hiring an experienced electrician in Bonney Lake is recommended.
How often should outdoor lighting be maintained?
Inspect outdoor lighting at least twice a year. Clean fixtures, check wiring, and replace damaged components as needed.